Project Holoswap - Smiley-CTF 2025 Write-up
Project Holoswap - Smiley-CTF 2025 Write-up

Challenge: Project Holoswap Category: misc Points: 262
Introduction
Project Holoswap was a fascinating miscellaneous challenge that revolved around the topic of adversarial machine learning. We were given a Python server script (server.py), a Keras/TensorFlow model (model_architecture.json dan model.weights.h5), and a starting image (gura.png). The goal was to submit a modified image that would be misclassified by the model as a specific target class while remaining perceptually almost identical to the original image.
Initial Analysis
So, the first thing I did was look at the server.py file to figure out the rules of the game. It laid out exactly what we needed to do to get the flag:
- The server starts by loading the original
gura.pngand checks that its own model correctly identifies it as class 5. - Our job is to send back a new image, encoded in base64.
- The model on the server has to classify our new image as class 9.
- It’s not enough to just be class 9; the model’s confidence has to be super high, over
0.999. - Here’s the tricky part: the difference between our image and the original
gura.pnghas to be tiny. The L2 norm (which is just a way to measure the distance or difference between the pixels) had to be less than0.9.
This setup is a classic example of a targeted adversarial attack. We’re not just trying to make the model fail; we’re trying to make it fail in a very specific way by classifying our image as a target class, all while keeping the image looking the same. Based on the theme, it was a safe bet that:
- Class 5: Gura
- Class 9: Amelia Watson
The Exploit Strategy: Projected Gradient Descent (PGD)
After some research, I found the perfect tool for the job: Projected Gradient Descent (PGD). It sounded complicated at first, but it’s a pretty standard and powerful way to create these kinds of adversarial images. It works by repeating a simple process:
- Define a Loss Function: We need a way to measure how “wrong” the model currently is. Our goal is to make the model output “class 9,” so we can use a loss function (like Categorical Cross-Entropy) to measure the gap between the model’s current prediction and our target.
- Calculate the Gradient: This is the key step. We calculate the gradient of this loss with respect to the pixels of our input image. Think of the gradient as an arrow pointing in the direction we need to change the pixels to make the model’s output closer to “class 9”.
- Take a Small Step: We adjust the image’s pixels just a tiny bit in the direction the gradient is pointing. We use a small value, usually called
ALPHA, to control how big this step is. - Iterate: We just repeat steps 2 and 3 over and over. With each iteration, we nudge the image a little bit more, getting it closer and closer to being classified as Amelia, while trying not to change it too much.
The Exploitation Process
Getting to the final flag took a bit of trial and error.
Step 1: Initial Solver and Model Loading
First, I started writing a Python script (solve.py) to try this PGD attack on my own machine. I hit my first snag right away just trying to load the model. I thought I could just use tf.keras.models.load_model(), but that failed. It turns out the .h5 file only had the model’s weights, not its structure. The right way was to load the structure from the model_architecture.json first, and then load the weights into that structure.
# Correct way to load the model
with open('model_architecture.json', 'r') as f:
    model_json = f.read()
model = tf.keras.models.model_from_json(model_json)
model.load_weights('model.weights.h5')
root@srv844796:~/project-holoswap# python3 solve.py
2025-06-14 03:21:05.463865: I tensorflow/core/util/port.cc:153] oneDNN custom operations are on. You may see slightly different numerical results due to floating-point round-off errors from different computation orders. To turn them off, set the environment variable `TF_ENABLE_ONEDNN_OPTS=0`.
..............
Loading model from JSON architecture and H5 weights...
2025-06-14 03:21:08.663554: E external/local_xla/xla/stream_executor/cuda/cuda_platform.cc:51] failed call to cuInit: INTERNAL: CUDA error: Failed call to cuInit: UNKNOWN ERROR (303)
/usr/local/lib/python3.10/dist-packages/keras/src/saving/saving_lib.py:802: UserWarning: Skipping variable loading for optimizer 'rmsprop', because it has 6 variables whereas the saved optimizer has 10 variables.
  saveable.load_own_variables(weights_store.get(inner_path))
Model loaded successfully.
Starting adversarial attack...
Iter  25: Pred Class: 9, Confidence: 1.000000, L2 Norm: 4.1706
Iter  50: Pred Class: 9, Confidence: 1.000000, L2 Norm: 5.6346
Iter  75: Pred Class: 9, Confidence: 1.000000, L2 Norm: 6.7388
Iter 100: Pred Class: 9, Confidence: 1.000000, L2 Norm: 7.6967
Iter 125: Pred Class: 9, Confidence: 1.000000, L2 Norm: 8.5389
Iter 150: Pred Class: 9, Confidence: 1.000000, L2 Norm: 9.3034
Iter 175: Pred Class: 9, Confidence: 1.000000, L2 Norm: 9.9637
Iter 200: Pred Class: 9, Confidence: 1.000000, L2 Norm: 10.5257
Iter 225: Pred Class: 9, Confidence: 1.000000, L2 Norm: 11.0873
Iter 250: Pred Class: 9, Confidence: 1.000000, L2 Norm: 11.6052
--- Attack Finished ---
Final Predicted Class: 9
Confidence for Class 9: 1.000000
Final L2 Norm: 11.6052
[FAILURE] Conditions not met. Try adjusting ALPHA or ITERATIONS.
I finally got it to work locally! My script made an image that was classified as class 9 with 100% confidence. But… the L2 norm was about 11.6, which was way higher than the < 0.9 the server required.
Step 2: Tuning the Attack
if np.argmax(prediction) == 9 and prediction[0][9] > 0.999:
    if calculate_l2_norm(input_image, original_image) < 0.9:
        print(f"{os.getenv('FLAG', '.;,;.{.;,;.}')}")
    else:
        print("a")
else:
    print("a")
The problem was that my ALPHA value (the step size) was too big. The fix was to make ALPHA much smaller and also add some “early stopping” code. This meant that inside my attack loop, I would check all the conditions after every step. As soon as an image met the criteria for class, confidence, AND L2 norm, the loop would stop. This way, I’d find a valid image with the smallest possible changes.
Step 3: Handling Server-Side Discrepancy
root@myusername:~/project-holoswap# /bin/python3 /root/project-holoswap/exploit.py
[*] Running solve.py to generate payload...
[+] Payload successfully generated!
[*] Connecting to smiley.cat:39709
[+] Opening connection to smiley.cat on port 39709: Done
[*] Sending payload...
[+] Payload sent! Here is the flag:
[*] Switching to interactive mode
1/1 ━━━━━━━━━━━━━━━━━━━━ 0s 23ms/step\x08\x08\x08\x08\x08\x08\x08\x08\x08\x08\x08\x08\x08\x08\x08\x08\x08\x08\x08\x08\x08\x08\x08\x1/1 ━━━━━━━━━━━━━━━━━━━━ 0s 37ms/step8\x08\x08\x08\x08
a
[*] Got EOF while reading in interactive
$ ls
$ ;s
[*] Closed connection to smiley.cat port 39709
[*] Got EOF while sending in interactive
I thought I had it! My local script was now generating an image with an L2 norm of around 0.84, which was perfect. But when I sent it to the server, it still failed. This was super frustrating. It’s a common issue in CTFs where the server’s environment (like library versions or even the CPU) is slightly different than yours. Those tiny differences can change floating-point math just enough so that my 0.84 was probably being calculated as something just over 0.9 on their end.
To beat this, I had to be even more careful and give myself a bigger margin for error. I lowered my ALPHA value again, all the way down to 0.0002. This made the attack much finer. It worked! It generated an image with an L2 norm of ~0.75, which was low enough to handle any small calculation differences on the server and pass the check.
TARGET_CLASS = 9
ITERATIONS = 2000
ALPHA = 0.0005
to
TARGET_CLASS = 9
ITERATIONS = 2000
ALPHA = 0.0002
Step 4: Full Automation
To finalize the exploit, the solver logic and the connection logic were combined into a single, self-contained Python script using the pwntools library. This script performs the entire chain of operations:
- Generates the adversarial payload in memory.
- Connects to the remote server.
- Waits for the prompt and sends the payload.
- Receives and prints the flag.
The Final Exploit
So, here’s the final script that brings it all together.
#exploit.py
from pwn import *
import tensorflow as tf
import numpy as np
from PIL import Image
import json
import io
import os
import base64
def generate_adversarial_payload():
info("Starting adversarial payload generation...")
os.environ['TF_CPP_MIN_LOG_LEVEL'] = '2'
tf.get_logger().setLevel('ERROR')
try:
with open('model_architecture.json', 'r') as f:
model_json = f.read()
model = tf.keras.models.model_from_json(model_json)
model.load_weights('model.weights.h5')
info("TensorFlow model loaded successfully.")
except Exception as e:
error(f"Failed to load TensorFlow model: {e}")
return None
def load_image_for_model(img_path):
img = Image.open(img_path)
if img.mode == 'RGBA':
img = img.convert('RGB')
img = img.resize((96, 96))
img_array = tf.keras.preprocessing.image.img_to_array(img)
img_array = img_array.astype('float32') / 255.0
img_array = np.expand_dims(img_array, axis=0)
return tf.convert_to_tensor(img_array)
original_image_tensor = load_image_for_model('gura.png')
TARGET_CLASS = 9
ITERATIONS = 2000
ALPHA = 0.0002
cce = tf.keras.losses.CategoricalCrossentropy()
target_label = tf.one_hot([TARGET_CLASS], model.output_shape[-1])
adversarial_image = tf.identity(original_image_tensor)
info("Running finely-tuned adversarial attack...")
for i in range(ITERATIONS):
with tf.GradientTape() as tape:
tape.watch(adversarial_image)
prediction = model(adversarial_image, training=False)
loss = cce(target_label, prediction)
gradient = tape.gradient(loss, adversarial_image)
signed_grad = tf.sign(gradient)
adversarial_image = adversarial_image - ALPHA * signed_grad
adversarial_image = tf.clip_by_value(adversarial_image, 0, 1)
if (i + 1) % 10 == 0:
current_pred = model.predict(adversarial_image, verbose=0)
pred_class = np.argmax(current_pred)
pred_conf_target = current_pred[0][TARGET_CLASS]
l2_norm = np.linalg.norm(adversarial_image.numpy().squeeze() - original_image_tensor.numpy().squeeze())
if pred_class == TARGET_CLASS and pred_conf_target > 0.999 and l2_norm < 0.9:
info(f"Success conditions met at iteration {i+1} (L2 Norm: {l2_norm:.4f})")
break
final_prediction = model.predict(adversarial_image, verbose=0)
final_class = np.argmax(final_prediction)
final_l2_norm = np.linalg.norm(adversarial_image.numpy().squeeze() - original_image_tensor.numpy().squeeze())
final_confidence = final_prediction[0][TARGET_CLASS]
info(f"Attack finished. Final L2 Norm: {final_l2_norm:.4f}, Confidence: {final_confidence:.6f}")
if final_class == 9 and final_confidence > 0.999 and final_l2_norm < 0.9:
success("Adversarial image is valid!")
adv_image_array = (adversarial_image.numpy().squeeze() * 255).astype(np.uint8)
adv_pil_image = Image.fromarray(adv_image_array)
buffered = io.BytesIO()
adv_pil_image.save(buffered, format="PNG")
b64_string = base64.b64encode(buffered.getvalue()).decode('utf-8')
return b64_string
else:
error("Failed to generate a valid adversarial image locally.")
return None
if __name__ == "__main__":
context.log_level = 'info'
payload = generate_adversarial_payload()
if not payload:
error("Exiting script because payload generation failed.")
exit()
success("Payload successfully generated")
log.info(f"Payload (first 50 chars): {payload[:50]}...")
HOST = 'smiley.cat'
PORT = <Port>
try:
info(f"Connecting to {HOST}:{PORT}")
r = remote(HOST, PORT)
except PwnlibException as e:
error(f"Connection failed: {e}")
exit()
info("Waiting for the server's prompt...")
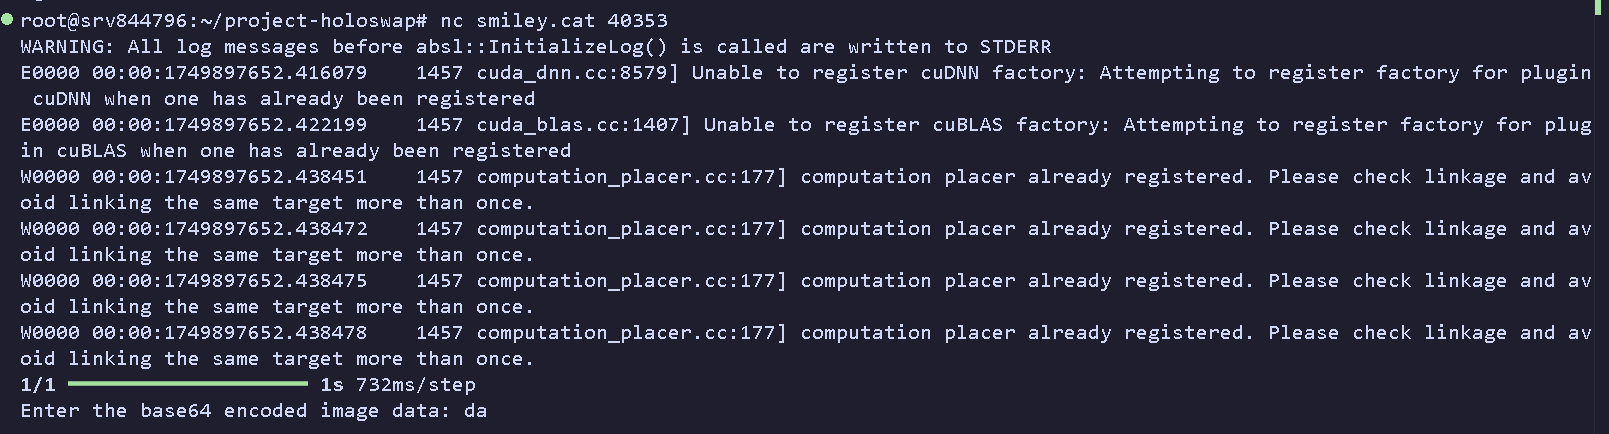
r.recvuntil(b'Enter the base64 encoded image data:', timeout=10)
info("Sending payload...")
r.sendline(payload.encode())
success("Payload sent! Waiting for server response...")
try:
while True:
line = r.recvline(timeout=5)
if not line:
break
print(f"[SERVER] {line.decode(errors='ignore').strip()}")
except EOFError:
info("Connection closed by server.")
finally:
r.close()
success("Script finished.")
Capturing the Flag
I ran the final script, held my breath, and… it worked perfectly! The script generated the payload, connected, sent it off, and the flag came right back.
$ python3 exploit.py
[*] Starting adversarial payload generation...
[*] TensorFlow model loaded successfully.
[*] Running finely-tuned adversarial attack...
[*] Success conditions met at iteration 40 (L2 Norm: 0.7557)
[*] Attack finished. Final L2 Norm: 0.7557, Confidence: 0.999770
[+] Adversarial image is valid!
[+] Payload successfully generated!
[*] Payload (first 50 chars): iVBORw0KGgoAAAANSUhEUgAAAGAAAABgCAIAAABt+uBvAABNx0...
[*] Connecting to smiley.cat:39477
[+] Opening connection to smiley.cat on port 39477: Done
[*] Waiting for the server's prompt...
[*] Sending payload...
[+] Payload sent! Waiting for server response...
[SERVER] 1/1 ━━━━━━━━━━━━━━━━━━━━ 0s 24ms/step
[SERVER] 1/1 ━━━━━━━━━━━━━━━━━━━━ 0s 38ms/step
[SERVER] Detective Amelia: That's *definitely* not me... but close enough.
[SERVER] .;,;.{Graduation_is_not_the_end_samekosaba_:eyes:}
[*] Connection closed by server.
[+] Script finished.
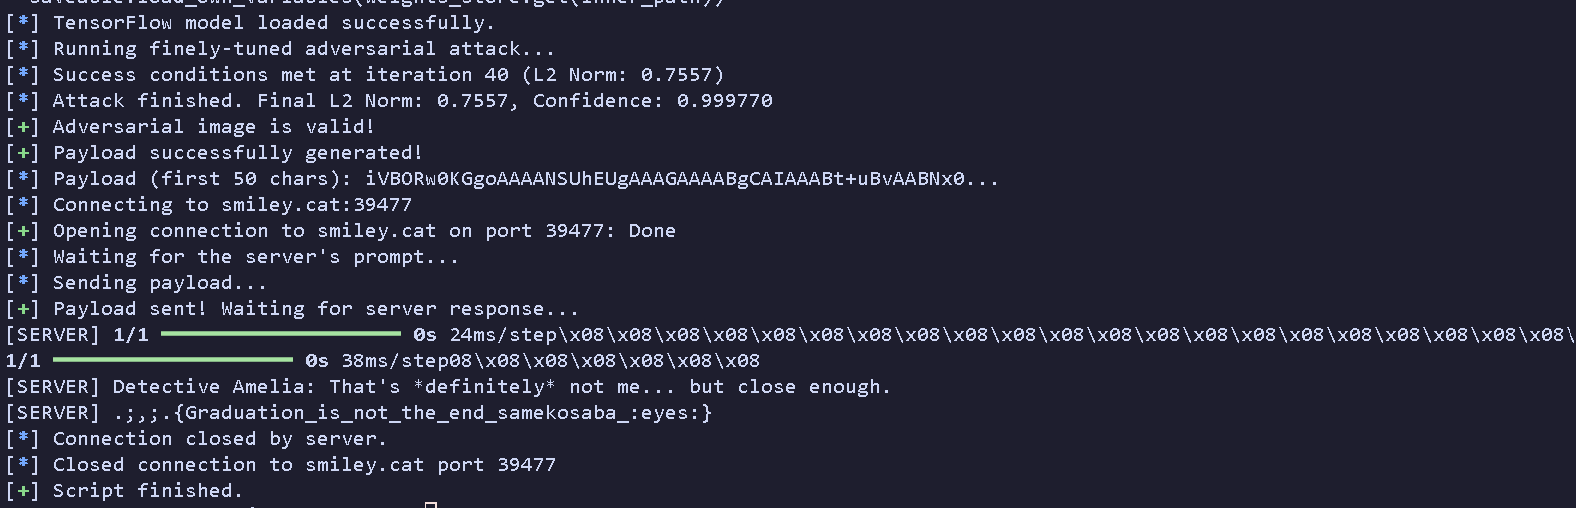
Flag: .;,;.{Graduation_is_not_the_end_samekosaba_:eyes:}